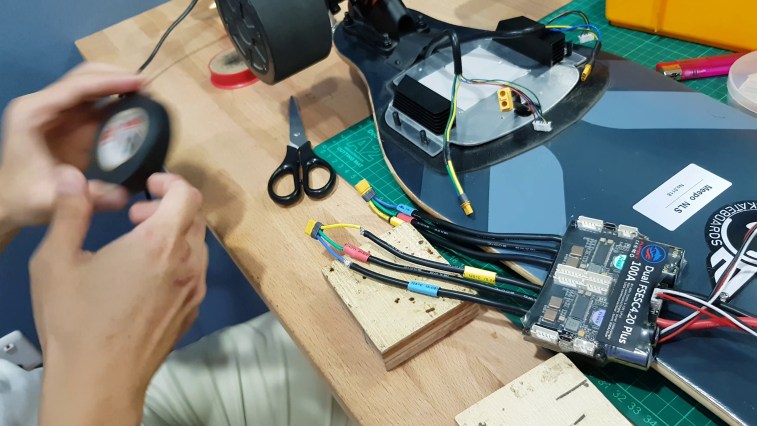
Electronic Speed Controller (ESC)
Electronic Speed Controller (ESC) is the brain of your electric skateboard. It tells your motor how hard to push or how strong to brake.
An ESC can cost somewhere around $60 to $100, and they are most definitely not created equal. Good ESC can handle bigger battery packs, as reflected by “Series” of battery they can handle and the Maximum Ampere it can handle.

Description of the product mentions it can handle burst current up to 120A or 50A continuous.
On the contrary, cheap ESC will fry if you try to hook a battery too big for it.
A good ESC is more powerful as it allows bigger ampere and/or voltage to pass through it. A poor ESC might bottleneck your built no matter how big of a motor or battery you hook it up with.
A good ESC is a set-up to give smooth control both in acceleration and brakings. Poor ESC might be unpredictable, inconsistent, or jerky.
The availability of unique features such as kick-to-turn-on, Bluetooth, and apps to read and adjust settings are all dependent on the ESC you get.
ESC and VESC can be either ‘single’ – which controls a single motor, or ‘dual,’ meaning one ESC controlling both motors. Of course, most of the boards now have dual ESC, as it is cheaper to have 1 ESC rather than 2. However, if you use 2 single ESCs to power 2 motors, and if one of your ESC goes bad, you still have a good one.
Which to get?
Any old-timer will tell you that there was a time where the ESC we use are mostly RC car ESC and wasn’t explicitly made for Eskate. This has long stopped being the case with the emergence of Chinese budget brands and the LingYi ESC and Hobbywing ESC that they made popular.

LiYing ESC Hobbywing ESC


Both of these ESCs are made for eskate and perform a lot better in an eskate than RC car’s ESC. There is absolutely no reason to go for an RC car ESC if you are building an Eskate with ESC.
You can buy both LingYi ESC and Hobbywing ESC from eskate vendors such as MeepoBoard.
With that said, there is little sense to build a DIY if you are not aiming for something substantially more powerful (you could very well buy a production board for less effort and money), and this brings us to the VESC.
Other ESC worth looking into:
- ESC sold on Aliexpress or TaoBao
- Mamba line’s from Castle Creations
VESC (Vedder-ESC)

VESC® was a type of ESC specifically designed for electric vehicles like the Eskate. It was designed by Benjamin Vedder, an engineer from Sweden, and hence the name, Vedder ESC. While he is generous to make this an open-sourced project, he partnered up with Trampa, who patented the VESC trademark, which meant all other manufacturers had to remove “VESC” from their product names.
Traditionally, VESC was often the most expensive part of a build, but the price has come down a lot more recently, especially with the popularity of ‘Dual VESC.’ Now a Dual VESC can cost somewhere from $150 to $300.
Examples of VESC derivatives not named VESC:
- Enertion’s FOCBOX line of ESCs
- Flipsky’s FSESC line
- DIYelectricskateboard.com’s Torque ESCs
Why is VESC so great?
VESC is excellent because it allows tons of customization. It allows you to control the torque of the board by adjusting the current output to the motor and current input from the battery. It allows you to customize the acceleration and braking curve so that the board behaves exactly as you want it to while braking and accelerating.
You can also set some limits to protect your ESC, motor, and battery such as:
- limiting the currents to the motor. (overcurrent to the motor fries it.)
- limits the temperature of the VESC. (going too hot may cook the VESC).
- limiting the minimum voltage to drain the battery. (over-discharge degrades the battery.)
VESC is programmed using the VESC-tool. To learn more about programming a VESC, you can take a look at our walkthrough. (coming soon…)
VESC Options

Focbox Unity 
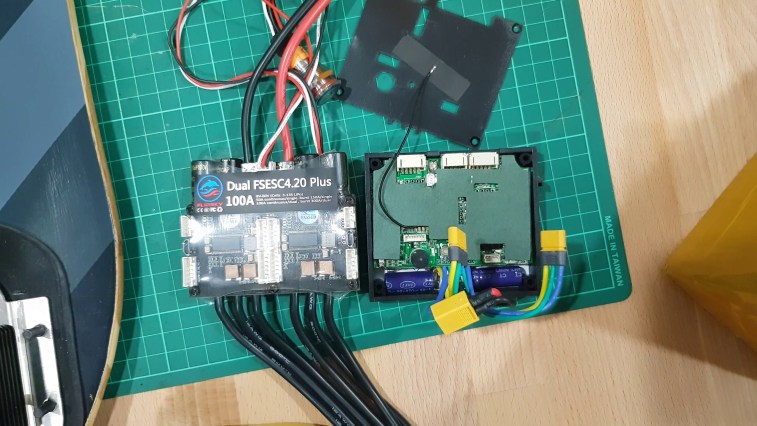
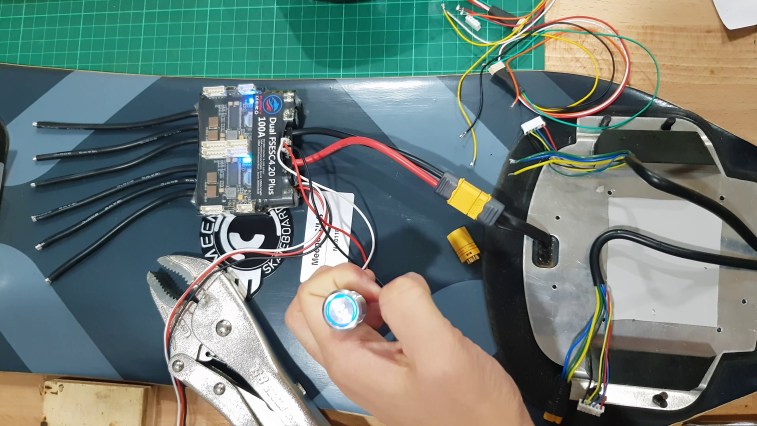
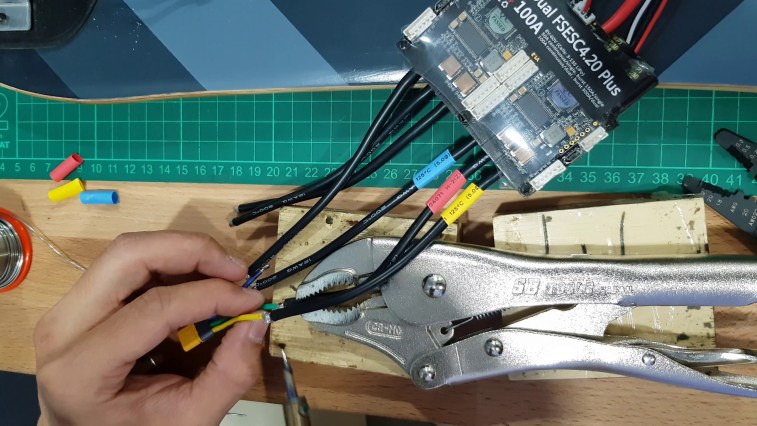
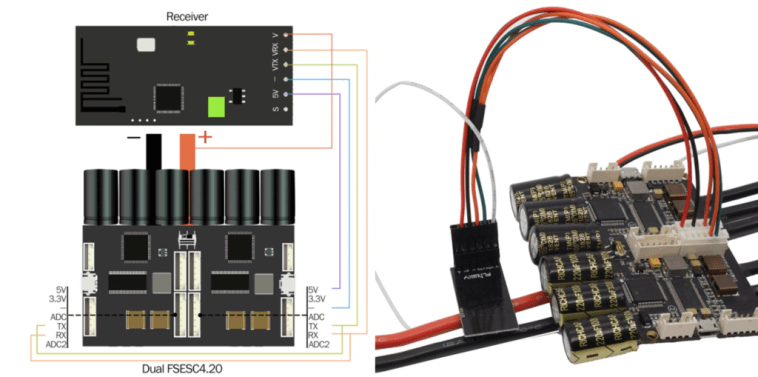
Flipsky Dual 4.20


Basically, nowadays, the VESC isn’t that expensive with the emergence of budget brands such as Flipsky, and serious DIY builds have no reason not to use VESCs.
Industry leaders in VESC have to be the Enertion’s FOCBOX and FOCBOX unity. It is pretty expensive but more refined than most other options. It also has a pretty long wait time. 2-3 months ETA from the order date.
Recently, however, Enertion Unity has received quite a bad rep for having faulty units and also for very delayed shipping time. So for those who don’t want to brace uncertainty until the issue cleared up, look for other options:
If waiting is not for you, Flipsky‘s VESC is another widely used and cheaper option with the added benefit of being in stock most of the time.
VESC comes with two main versions. Version 4 and the newer Version 6, which saw some improvement. VESC version 6 generally allows higher series and currents than the Version 4, but for regular street builds, any VESC of version 4 should suffice. However, keep in mind if you buy a VESC with the reference 4.12 design, running FOC mode may break the VESC easily.
Below are the most commonly use VESC:

1) Enertion FOCBOX Unity: $299
The industry leader in VESC. Arguably the most refined. Used in premium DIY brands such as Lacroix, Bio boards. Infamous for its long wait time. However, as mentioned, recent batches of FOCBOX Unity seems to be ridden with problems.
- Support up to 12S
- 160A Continuous System Current
- 80A Continuous Motor Current
- 300A Max System Current

2) Flipsky’s Dual FSECS 4.20: $179
Probably the most economic of all VESC. Suitable for most street builds.
- Support up to 12S
- 100A Continuous System Current
- 50A Continuous Motor Current
- 300A Max System Current

3) Flipsky’s Dual FSECS 6.6: $279
A Good alternative to FOCBOX Unity. Only a little bit cheaper, but always in stock.
- Support up to 12S
- 200A Continuous System Current
- 100A Continuous Motor Current
- 800A Max System Current
Other VESC worth looking into:
Do you know any other good VESC options that should have been added to the list? Or do you have any trouble with your ESC/VESC that you would like to warn other people about? Let us know in the comment below!
If you are buying any DIY part, do check out our “discount code” page as we might very well have affiliated discount code for some of them!