Introduction to Electric Skateboard Trucks for eskaters and DIYers

For anyone wanting to know more about skateboard and longboard trucks in general, Stoked Ride Shop has a very very comprehensive guide with excellent infographics that covers everything about trucks.

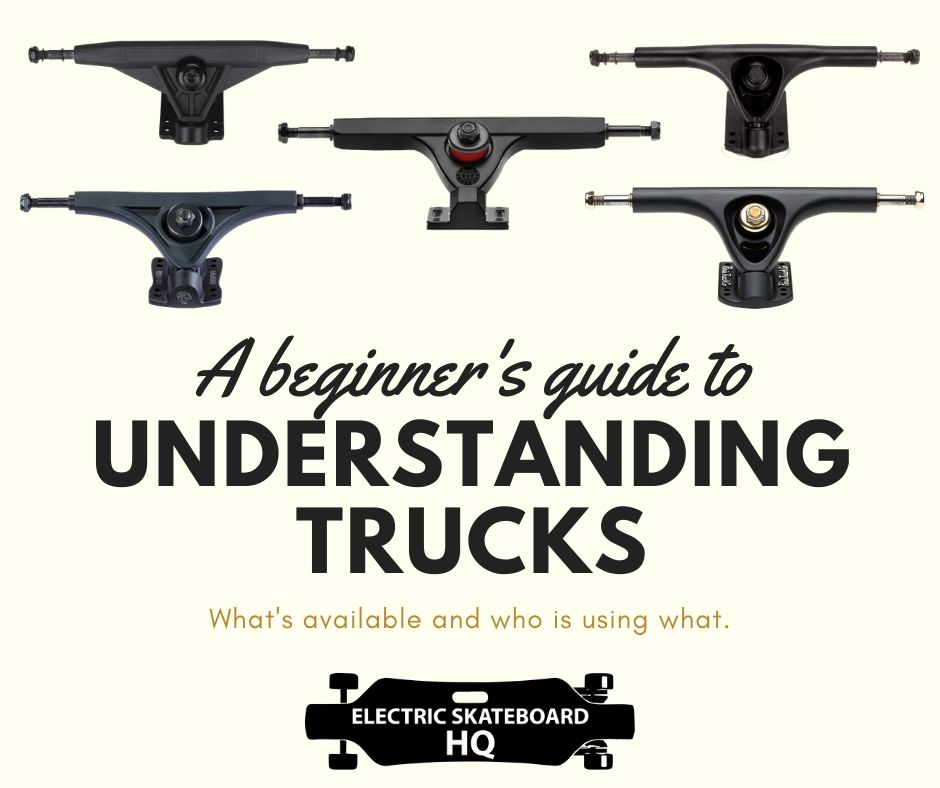
For those who are shopping for production boards, there are a few trucks that are very commonly used.

Generic Truck – Paris clone

They are easier to turn with but less stable at higher speeds.

Generic Trucks – Type A

More stable but harder to turn.

Generic Truck for Belt and AT

Most budget belt drive and AT boards comes with this set of trucks. They allow easy conversion to street wheels. However, they do not have much personality. For me, they are too turny for AT set-up but pretty okay when used with street wheels.

Besides the trucks above, some major Chinese brands had made their own trucks by cloning well-known trucks.

Meepo’s Shredder Trucks

Shredder Trucks are the clone of Bear Kodiak’s. However, unlike Bear Kodiak’s, Shredder Trucks are 200mm in length and takes super tall 20mm Macroon bushing. Nevertheless, Shredder Trucks are very comfortable to ride on, and Shredder’s back trucks are probably the best hub motors back truck that’s readily available.

Backfire’s Caliber II Clone

While Backfire uses genuine Caliber II trucks on its premium line-ups, it uses a 180mm Caliber II clone for less pricey boards. They look exactly like the genuine Caliber sans the logo and perform very well too.

For DIY

Belt Drive

When it comes to building a DIY belt-drive, the most common truck used is the Caliber II trucks. This is not only because Caliber II is known for stability and that’s what eskates are usually big on; but also because the square hanger of the trucks makes mounting a motor mount easy. While you need to file the hanger of a Paris truck to stick the motor mount, there are plenty of readily available motor mounts that work well with the Caliber.

Hub Motor

For Hub drives, you have to find special trucks that allow you to slot in your trucks. Your best bet probably is going to be Chinese eskate vendors (like the Meepo, Backfire, Ownboard, and Wowgo) to buy the one they use on their production boards. Alternatively, you can go to www.DIYeboard.com or online market place such as TaoBao or Aliexpress to get one – but it is very difficult to check for quality going this route.

MountainBoard

Typical Mountainboard Trucks from Mboards

For MountainBoards truck, there are a few common choices: Trumpa Trucks, Generic MountainBoard Trucks like the one from Mboards or DIYeboards, or go for trucks used by vendors such as the Lacroix HyperTrucks.

Double Kingpin Trucks

DIYing with a Double Kingpin truck used to be complicated, you either get a pair of Gullwing Sidewinder and try to get a motor mount on it or try to get your hands on a pair of Evolve Super Carve Trucks. But now, however, it is a lot easier to get eskate double kingpin trucks of various kinds.

You can get Direct Drive Double Kingpin Trucks from Elofty, or go to vendors such as Ownboard, Verreal and see if they would sell you the DKP trucks they use on their belt-driven board; or Backfire and Wowgo and see if they would sell you the one they use in their hub-driven board.


What is your favourite truck? Have you swapped out the truck of your eskate? Let us know in the comment below!

If you are buying any DIY part, do check out our “discount code” page as we might very well have an affiliate discount code for some of them!

Understanding Electric Skateboard Motors – How to choose?

While there are many types of motors (Outrunner, hub motors, direct drives), they operate on a similar basis, and once you understand one of them, you will know how each board compares and which motor to pick for your DIY build.

Outrunner Motors

Exway X1 Pro Riot

Every motor stats

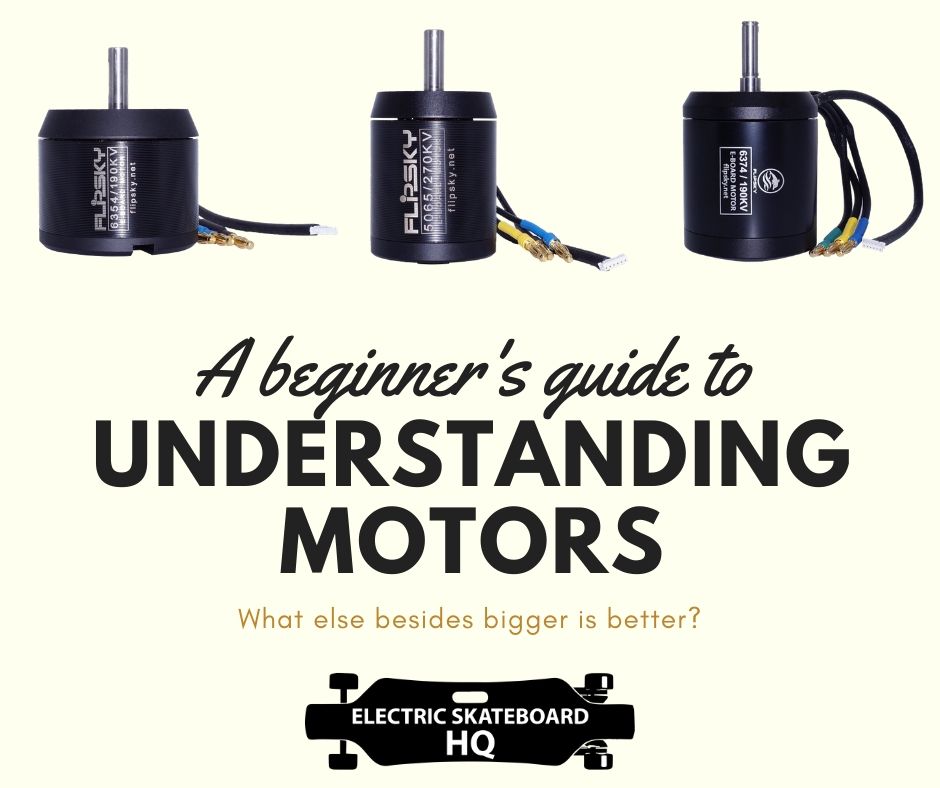
Eskate manufacturer and motor manufacturers always throw around a few specs; they are the Sizes, Kv, and Watts.

For example, This is Flipsky motor

Size

The 4 digits of the motor denote the size of the motor. For example, the motor sample on the photo goes by 6384. It means 63mm in diameter and 84mm in length. This usually means the outer dimensions of the motor can itself; however, minor variations may occur due to can design.

Logic may dictate that a larger can size usually means a more powerful motor. However, the strength of the motor can come from a variety of many factors, such as internal construction methodology, type and shape of magnets used, airgap between the stator and can, and size of the stator itself.

It is usually a good idea to ask the manufacturer for the size of the actual stator itself instead of the motor can as that number in combination with the motor size is a better indicator of how powerful a motor is.

KV ratings

KV is the number of revolution per minute (rpm) that a motor gives when 1 volt is applied to the motor. That is when we let the motor spin freely without load. This means that the higher KV, the faster the motor spins. However, all other factors being equal, a higher KV also means a lower torque output.

The usual KV ratings found in an electric skateboard outrunner motor will range from 140KV to 220KV. This is different for a hub motor; however, as hub motors don’t have pulleys and gear reductions to final speed and torque. As such, they are usually much lower KV (80-100KV) to maintain comparable torque.

  • Lower KV – higher torque, lower top speed
  • Higher KV – lower torque, higher top speed

For example, Enertion Raptor 2, which is known to be torquest hub motor, has 85Kv, while generally hub motors have 100Kv.

Watts

As we all learned from high school, power is measured in Watts. And Watts is calculated by Voltage x Ampere. If you have a high wattage motor, meaning it can handle a lot more voltage and/or ampere, and this in turns means it can be more torquey or go faster.

In an electric skateboard world, the power of a motor can differ by a considerable number. A simple hub motor can only have a power of 250W or 350W each, but will still work pretty nicely. On the other hand, Enertion’s R-Spec Ghost, which is the most powerful hub motor on the market, has a power of 1680W each. (and it gulps down battery like nobody’s business)

Outrunner motor tends to have a higher power. The motor in production belt-driven eskate usually ranges around 600W each (Wowgo 3X) and those with AT wheels around 1500W (Ownboard AT).

For DIY, you can get motors ranging from 1000W to 4000W.

Ampere

Every motor has the maximum current it can pull. For example, 50A. You have to make sure the ESC max output is higher than the max current draw for the motor, by a small margin (5%). If the motor draws higher ampere than the ESC can provide, the ESC may be fried. Cutting it too close also hurts the longevity of the ESC.

So if your motors can draw 50A each (total 100A), make sure the ESC can support at least 5% above that, meaning 5% above 100A, meaning at least 105A. If you are using a VESC and can set the current limits, be sensible and make sure you don’t go over both the maximum motor current limits (this kills the motor) or the maximum limits of the VESC (this kills the VESC).

Voltage

Every motor specs will tell you what is the voltage that the motor supports. Generally, however, the voltage of the motor doesn’t matter too much as they usually support a very wide range of voltage – somewhere between 3s to 12s (4.8V-43.2V). (If you don’t understand specs of the battery, check out my comprehensive guide on the battery)

Sensored VS Unsensored motor

Some motors come with the sensor cable; some don’t.

Sensored motor allows the motor to detect the position of the motor at all times, which translates into a smoother start-up. Unsensored motor, on the other hand, often is jerky when starting from a standstill and often requires a kick push to have a smooth start.

Nowadays, practically every production board you can buy comes with sensored motor. And there is no reason to get an unsensored motor. By the way, a sensored motor will still work as an unsensored motor if you choose not to plug the sensor cable in.

For DIY-er, you probably should know that sensor cables are not all the same. Some come with 6 pins head (as it includes a temperature sensor wire), some only 5. You might need to change the pinhead yourself if the sensor wire doesn’t match with your ESC.

5 pin sensored wire’s head on the left, 6 pin on the right

Where to get your motors:

There are a few places you can get your motors.

If you are buying any DIY part, do check out our “discount code” page as we might very well have affiliated discount code for some of them!

Understanding ESC & VESC in Electric Skateboard: How to choose?

Electronic Speed Controller (ESC)

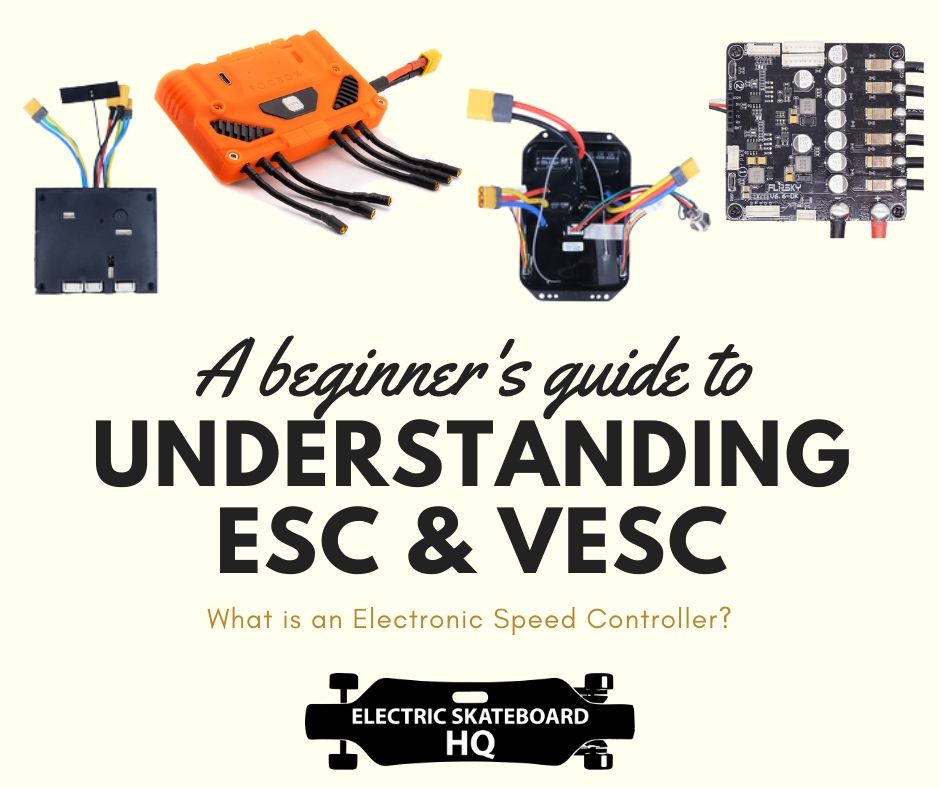
Electronic Speed Controller (ESC) is the brain of your electric skateboard. It tells your motor how hard to push or how strong to brake.

An ESC can cost somewhere around $60 to $100, and they are most definitely not created equal. Good ESC can handle bigger battery packs, as reflected by “Series” of battery they can handle and the Maximum Ampere it can handle.

Option on the Series – 6s, 7s or 10s.
Description of the product mentions it can handle burst current up to 120A or 50A continuous.

On the contrary, cheap ESC will fry if you try to hook a battery too big for it.

A good ESC is more powerful as it allows bigger ampere and/or voltage to pass through it. A poor ESC might bottleneck your built no matter how big of a motor or battery you hook it up with.

A good ESC is a set-up to give smooth control both in acceleration and brakings. Poor ESC might be unpredictable, inconsistent, or jerky.

The availability of unique features such as kick-to-turn-on, Bluetooth, and apps to read and adjust settings are all dependent on the ESC you get.

ESC and VESC can be either ‘single’ – which controls a single motor, or ‘dual,’ meaning one ESC controlling both motors. Of course, most of the boards now have dual ESC, as it is cheaper to have 1 ESC rather than 2. However, if you use 2 single ESCs to power 2 motors, and if one of your ESC goes bad, you still have a good one.

Which to get?

Any old-timer will tell you that there was a time where the ESC we use are mostly RC car ESC and wasn’t explicitly made for Eskate. This has long stopped being the case with the emergence of Chinese budget brands and the LingYi ESC and Hobbywing ESC that they made popular.

Both of these ESCs are made for eskate and perform a lot better in an eskate than RC car’s ESC. There is absolutely no reason to go for an RC car ESC if you are building an Eskate with ESC.

You can buy both LingYi ESC and Hobbywing ESC from eskate vendors such as MeepoBoard.

With that said, there is little sense to build a DIY if you are not aiming for something substantially more powerful (you could very well buy a production board for less effort and money), and this brings us to the VESC.

Other ESC worth looking into:

VESC (Vedder-ESC)

VESC® was a type of ESC specifically designed for electric vehicles like the Eskate. It was designed by Benjamin Vedder, an engineer from Sweden, and hence the name, Vedder ESC. While he is generous to make this an open-sourced project, he partnered up with Trampa, who patented the VESC trademark, which meant all other manufacturers had to remove “VESC” from their product names.

Traditionally, VESC was often the most expensive part of a build, but the price has come down a lot more recently, especially with the popularity of ‘Dual VESC.’ Now a Dual VESC can cost somewhere from $150 to $300.

Examples of VESC derivatives not named VESC:

  • Enertion’s FOCBOX line of ESCs
  • Flipsky’s FSESC line
  • DIYelectricskateboard.com’s Torque ESCs

Why is VESC so great?

VESC is excellent because it allows tons of customization. It allows you to control the torque of the board by adjusting the current output to the motor and current input from the battery. It allows you to customize the acceleration and braking curve so that the board behaves exactly as you want it to while braking and accelerating.

You can also set some limits to protect your ESC, motor, and battery such as:

  • limiting the currents to the motor. (overcurrent to the motor fries it.)
  • limits the temperature of the VESC. (going too hot may cook the VESC).
  • limiting the minimum voltage to drain the battery. (over-discharge degrades the battery.)

VESC is programmed using the VESC-tool. To learn more about programming a VESC, you can take a look at our walkthrough. (coming soon…)

VESC Options

Basically, nowadays, the VESC isn’t that expensive with the emergence of budget brands such as Flipsky, and serious DIY builds have no reason not to use VESCs.

Industry leaders in VESC have to be the Enertion’s FOCBOX and FOCBOX unity. It is pretty expensive but more refined than most other options. It also has a pretty long wait time. 2-3 months ETA from the order date.

Recently, however, Enertion Unity has received quite a bad rep for having faulty units and also for very delayed shipping time. So for those who don’t want to brace uncertainty until the issue cleared up, look for other options:

If waiting is not for you, Flipsky‘s VESC is another widely used and cheaper option with the added benefit of being in stock most of the time.

VESC comes with two main versions. Version 4 and the newer Version 6, which saw some improvement. VESC version 6 generally allows higher series and currents than the Version 4, but for regular street builds, any VESC of version 4 should suffice. However, keep in mind if you buy a VESC with the reference 4.12 design, running FOC mode may break the VESC easily.


Below are the most commonly use VESC:

1) Enertion FOCBOX Unity: $299

The industry leader in VESC. Arguably the most refined. Used in premium DIY brands such as Lacroix, Bio boards. Infamous for its long wait time. However, as mentioned, recent batches of FOCBOX Unity seems to be ridden with problems.

  • Support up to 12S
  • 160A Continuous System Current
  • 80A Continuous Motor Current
  • 300A Max System Current

2) Flipsky’s Dual FSECS 4.20: $179

Probably the most economic of all VESC. Suitable for most street builds.

  • Support up to 12S
  • 100A Continuous System Current
  • 50A Continuous Motor Current
  • 300A Max System Current

3) Flipsky’s Dual FSECS 6.6: $279

A Good alternative to FOCBOX Unity. Only a little bit cheaper, but always in stock.

  • Support up to 12S
  • 200A Continuous System Current
  • 100A Continuous Motor Current
  • 800A Max System Current

Other VESC worth looking into:

Do you know any other good VESC options that should have been added to the list? Or do you have any trouble with your ESC/VESC that you would like to warn other people about? Let us know in the comment below!

If you are buying any DIY part, do check out our “discount code” page as we might very well have affiliated discount code for some of them!

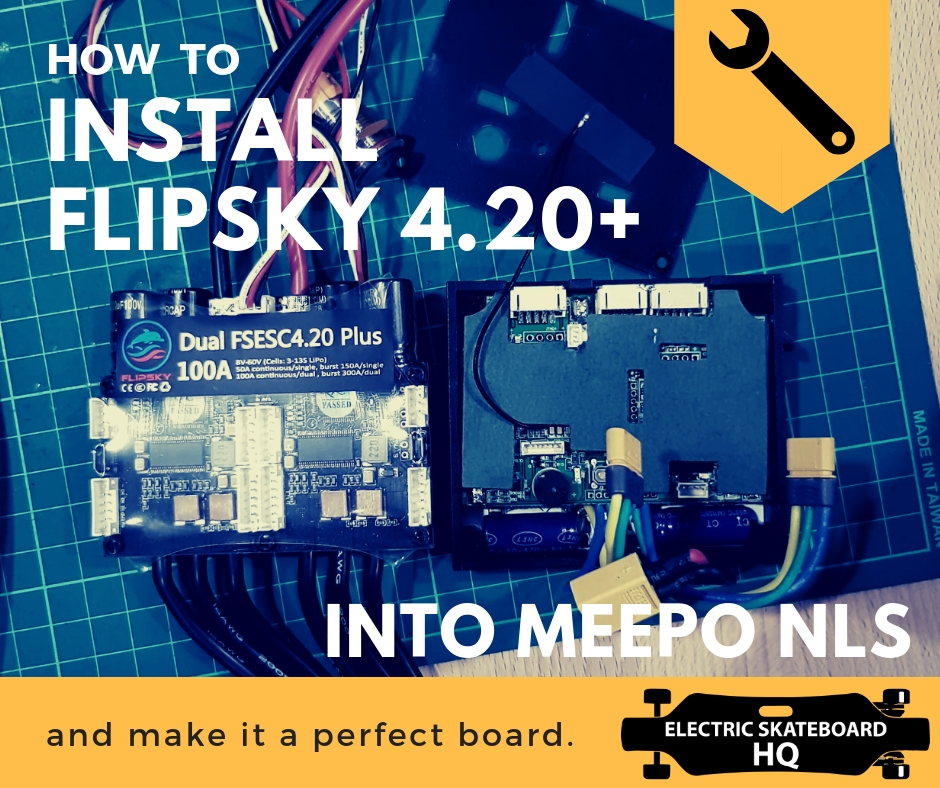
How to: Installing Flipsky FSESC Dual 4.20 plus on Meepo NLS

In my Meepo NLS review, I mentioned that I have installed Flipsky FSESC Dual 4.20 plus into my NLS and it has completely unleashed the potential of the board.

Besides improving the smoothness of the acceleration and braking (they are both now perfectly smooth), Flipsky ESC also unleashed a stronger torque and hence faster acceleration.

Flipsky powered NLS now dusts Backfire G2T in a drag race. It’s not even a contest.

Drag Race: Flipsky powered NLS VS Turbo G2T

I’ve received a lot of message on how to install Flipsky into NLS. Though most are just asking about the settings, I decided to write the full tutorial for those who never installed a VESC prior to this. For those who are just looking for the VESC-tool settings that I used, just skip to the end of the post.

If you are not a fan of reading and want to see a 7 minutes silent video of the actual footage on how we install this, you’re in luck! Click the link below.

WARNING: Changing the ESC should void the manufacturer warranty as it pushes your board to a limit not intended by the manufacturer and may fry your parts. Do this at your own risk.

Parts I used:

From Flipsky:

From Meepo:

Miscellaneous:

Tools that were needed:

Steps summary:

  1. Removing the stock ESC.
  2. Installing the power button
  3. Installing the power cable
  4. Installing the hall sensors
  5. Connecting the motor wires
  6. Connecting the receivers
  7. VESC-tool:
    • Input setup Wizard. (Skip if using VX1)
    • Motor Setting Wizard.
  8. Tucking everything in and profit!

1. Removing the ESC:

Remove whatever screws is in your way and remove the stock ESC.

2. Installing the power button

Flipsky power switch is bigger than NLS’s, and the stock power button can’t be plugged into Flipsky ESC.

We drill a bigger hole for the Flipsky power switch.

3. Installing the hall sensor wires

NLS hall sensor doesn’t have a TMP wire

Flipsky FSESC receives a 6 pin connector for motor sensor while NLS hub motors use sensor connector with 5 pin head as it doesn’t have the temperature sensor.

We will have to convert the NLS hub sensor wires to a 6 pin sensor connector. As we don’t have an unused 6 pin sensor head lying around, we harvested the one that comes with Flipsky.

We have to change the connector from left(5pin), to the right(6pin)

4. Installing the power cable

After ascertaining the poles of the power battery power cable, we solder the XT60 (Male) connector to the power cable from VESC.

5. Connecting the motor wires

NLS hubs use MR30 connectors. You will have a lot of option to connect it to Flipsky ESC, including cutting the MR30 connector and solders the wires directly.

NLS motor use MR30 connector

We choose to put MR30 connector on to the Flipsky ESC because it will allow us to swap back to the stock ESC easily (and make comparison test easier)

We solder the motor wires in this arrangement:
From left to right, it should be Blue, Green, Yellow, then Yellow, Green, Blue.
Of course, place a shrink tube in to seal the connection when the solder was done.

6a. Connecting the receiver (For Nano Remote)

This is pretty straight forward, connect the receiver to the VESC. You should plug into Channel 1.

6b. Connecting the receiver (For VX1 remote)

Plug everything according to your ESC version. You can refer to a photo from Flipsky’s website.

Solder the white wire to the red power cable.

7. VESC setting

Connect your Flipsky ESC to a Window PC via a USB cable.
Run VESC-tools and update into the correct firmware version.

7a) Input setup Wizard.

Run the input setup Wizard to configure your remote.
(VX1 remote doesn’t need you to do this)

7b) Input setup Wizard.

Run Motor Setting Wizard.

Motor Type: FOC
Motor Current Max: 40A
Motor Current Max Brake: -30A
Battery Current Max: 30A
Battery Current Max Regen: -10A

Battery Cutoff Calculator:
Cells: 10
Hit Apply. Next.

Sensor Mode: Hall Sensor

FOC Settings:
Click RL -> Click λ -> Click Apply, Next.

FOC Hall sensor setting:
Click Apply, Click Next.

Alright! You are done!
Happy riding!

Check out our Sponsor Flipsky for your DIY needs:
https://flipsky.net/

Check out our article review on Meepo NLS:
https://electricskateboardhq.com/meepo-nls-next-level-sht-almost/