Flipsky releases Dual FSESC 6.6 Mini and VX2 remote

On 18th July 2019, Flipsky announced the release of a new ESC FSESC 6.6 Mini and around the same time, they’ve also put up the new VX2 remote for preorder.

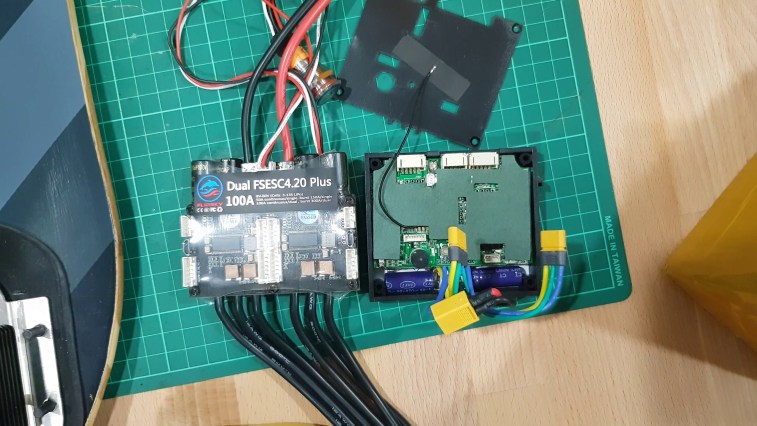
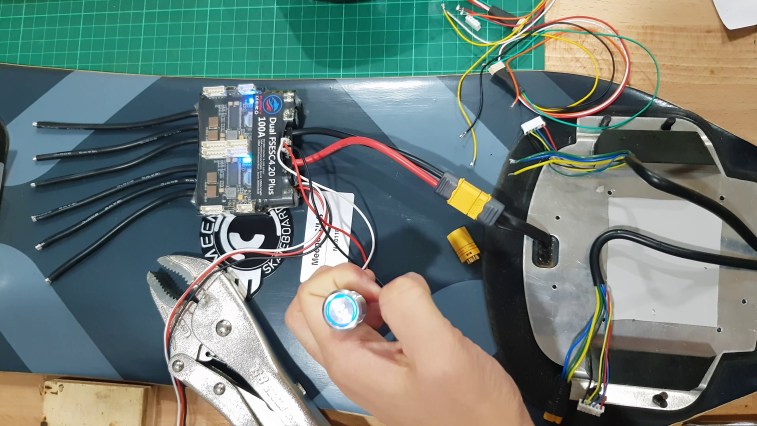
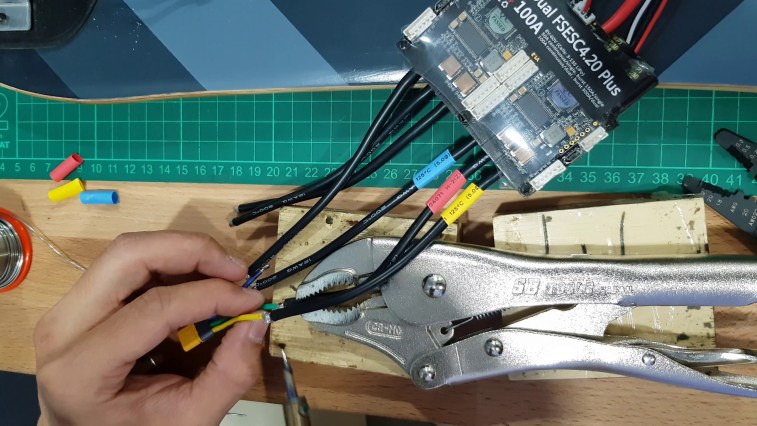
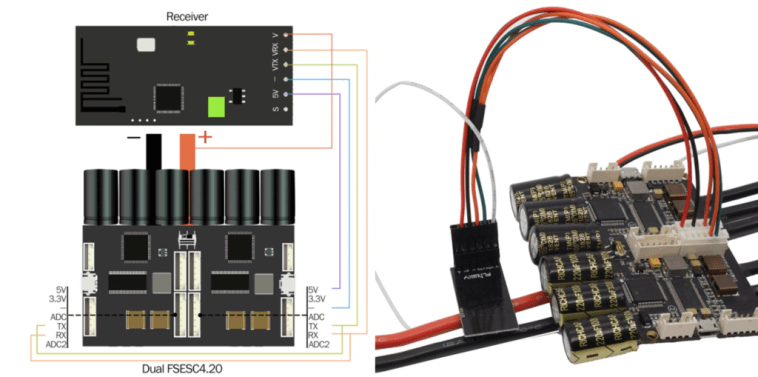
Dual FSESC 6.6 Mini ($229)

I think Flipsky needs no elaborative introductions as they are pretty well known for their VESC. For those who don’t know, they are amongst the top options when it comes to VESC, competing with the industry leader Focbox Unity. Many DIYer chose Flipsky for it’s budget friendlier price and instant availability. (Hey Enertion, am still waiting for my Unity..)

Dual FSESC 6.6 Mini is the mini version of their top of the line product – Dual FSESC 6.6 with heatsink. However, besides the smaller footprint (81mm x 77mm x 20mm), Mini has a few more changes:

  • 1 extra UART port (2 in total).
  • Removed switch button.
  • And some upgrade on the more technical stuff like cables and MOSFET design.

Anyhow, here are the specs:

  • Hardware: V 6.6
  • Voltage: 8V – 60V (Safe for 3S to 12S LiPo) for the dual ESC
  • Voltage spikes may not exceed 60V
  • Current: Continuous 100A single, total 200A,
    Instantaneous current 400A per single, total 800A for system instantaneous current.
  • 5V 1.5A output for external electronics for single
  • 3.3V 1A output for external electronics for single
  • Modes: DC, BLDC, FOC (sinusoidal)
  • Supported sensors: ABI, HALL, AS5047
  • 6 shunts in a dual system. Each is measurable for the current.

You can check out the Dual FSESCS 6.6 Mini by clicking here.

VX2 Remote ($99 $79)

When it comes to remote, the old Flipsky’s VX1 was considered the best. It’s comfortable in hand, the throttle wheel has good travel, there is board-battery indicator, cruise control function, reverse mode & speed modes.

Well, Lacroix certainly agrees that VX1 was the best option as they uses VX1 in their Jaws and Nazares line-ups.

The new VX2 which is due to ship on 15th August are all that plus a screen for telemetry. The screen-on-the-top-of-the-remote set up reminds me of the R2 remote, which is a good design unlike the popular screen on the side of the remote set-up which is useless for left-handers.

You can check out the VX2 remote by clicking here.

How to: Installing Flipsky FSESC Dual 4.20 plus on Meepo NLS

In my Meepo NLS review, I mentioned that I have installed Flipsky FSESC Dual 4.20 plus into my NLS and it has completely unleashed the potential of the board.

Besides improving the smoothness of the acceleration and braking (they are both now perfectly smooth), Flipsky ESC also unleashed a stronger torque and hence faster acceleration.

Flipsky powered NLS now dusts Backfire G2T in a drag race. It’s not even a contest.

Drag Race: Flipsky powered NLS VS Turbo G2T

I’ve received a lot of message on how to install Flipsky into NLS. Though most are just asking about the settings, I decided to write the full tutorial for those who never installed a VESC prior to this. For those who are just looking for the VESC-tool settings that I used, just skip to the end of the post.

If you are not a fan of reading and want to see a 7 minutes silent video of the actual footage on how we install this, you’re in luck! Click the link below.

WARNING: Changing the ESC should void the manufacturer warranty as it pushes your board to a limit not intended by the manufacturer and may fry your parts. Do this at your own risk.

Parts I used:

From Flipsky:

From Meepo:

Miscellaneous:

Tools that were needed:

Steps summary:

  1. Removing the stock ESC.
  2. Installing the power button
  3. Installing the power cable
  4. Installing the hall sensors
  5. Connecting the motor wires
  6. Connecting the receivers
  7. VESC-tool:
    • Input setup Wizard. (Skip if using VX1)
    • Motor Setting Wizard.
  8. Tucking everything in and profit!

1. Removing the ESC:

Remove whatever screws is in your way and remove the stock ESC.

2. Installing the power button

Flipsky power switch is bigger than NLS’s, and the stock power button can’t be plugged into Flipsky ESC.

We drill a bigger hole for the Flipsky power switch.

3. Installing the hall sensor wires

NLS hall sensor doesn’t have a TMP wire

Flipsky FSESC receives a 6 pin connector for motor sensor while NLS hub motors use sensor connector with 5 pin head as it doesn’t have the temperature sensor.

We will have to convert the NLS hub sensor wires to a 6 pin sensor connector. As we don’t have an unused 6 pin sensor head lying around, we harvested the one that comes with Flipsky.

We have to change the connector from left(5pin), to the right(6pin)

4. Installing the power cable

After ascertaining the poles of the power battery power cable, we solder the XT60 (Male) connector to the power cable from VESC.

5. Connecting the motor wires

NLS hubs use MR30 connectors. You will have a lot of option to connect it to Flipsky ESC, including cutting the MR30 connector and solders the wires directly.

NLS motor use MR30 connector

We choose to put MR30 connector on to the Flipsky ESC because it will allow us to swap back to the stock ESC easily (and make comparison test easier)

We solder the motor wires in this arrangement:
From left to right, it should be Blue, Green, Yellow, then Yellow, Green, Blue.
Of course, place a shrink tube in to seal the connection when the solder was done.

6a. Connecting the receiver (For Nano Remote)

This is pretty straight forward, connect the receiver to the VESC. You should plug into Channel 1.

6b. Connecting the receiver (For VX1 remote)

Plug everything according to your ESC version. You can refer to a photo from Flipsky’s website.

Solder the white wire to the red power cable.

7. VESC setting

Connect your Flipsky ESC to a Window PC via a USB cable.
Run VESC-tools and update into the correct firmware version.

7a) Input setup Wizard.

Run the input setup Wizard to configure your remote.
(VX1 remote doesn’t need you to do this)

7b) Input setup Wizard.

Run Motor Setting Wizard.

Motor Type: FOC
Motor Current Max: 40A
Motor Current Max Brake: -30A
Battery Current Max: 30A
Battery Current Max Regen: -10A

Battery Cutoff Calculator:
Cells: 10
Hit Apply. Next.

Sensor Mode: Hall Sensor

FOC Settings:
Click RL -> Click λ -> Click Apply, Next.

FOC Hall sensor setting:
Click Apply, Click Next.

Alright! You are done!
Happy riding!

Check out our Sponsor Flipsky for your DIY needs:
https://flipsky.net/

Check out our article review on Meepo NLS:
https://electricskateboardhq.com/meepo-nls-next-level-sht-almost/