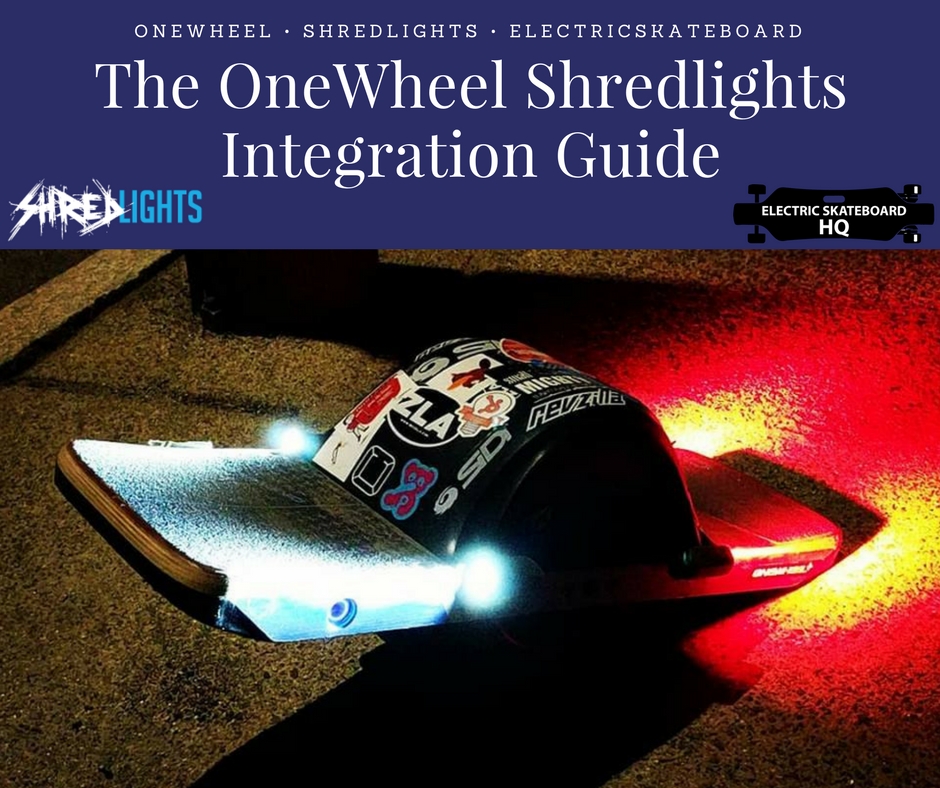
ShredLights, the lights designed specifically for use with skateboards, an industry standard, beloved by all.
When I heard that ShredLights would be providing EskateHQ with some lights to test, I was excited. I found my mind racing, trying to decide which of my skateboards to try them on.
The Boosted? No, too generic.
The Killswitch? I don’t ride it enough.
My slalom setup? I don’t know if the world is ready to see those lights wiggling towards them on the Boston streets at night.
What about my old standby commuter, the OneWheel? That’s ridiculous. ShredLights can’t fit on a OneWheel!
UNTIL NOW.
Using the most advanced technology available to us at EskateHQ, we have been able to combine these two unlike elements into some sort of eskate chimera, even more powerful than the sum of its parts…
And now it is time to teach the world how, without any modification, hole-drilling, or general screwing-with of your beautiful OneWheel.
Welcome to the OneWheel ShredLights Integration guide.
It’s actually super easy. All you need is the OneWheel allen key, a ShredLights esk8 Combo Pack, 2 extra “stepped brackets” and about 20 minutes. (Use the “ESKATEHQ” promo code during checkout to receive a discount!)
First things first, you are going to want to unscrew the middle screws on the board. The ones that normally hold on the fender. I performed my install by mounting the stepped brackets underneath the fender, but I believe that a similar approach can be used without the fender, even if the screws are a little shorter.
Next, you want to align your stepped brackets over the hole of the screw, and then replace any screws/fenders that you might have removed. With a flat bracket, you will not have any leverage when you attach your lights, so putting them on and taking them off will be very difficult as the bracket will rotate. As long as you attach your stepped brackets tightly, the “step” will keep the bracket immobilized along the rail of the OW and enable easy attachment/detachment of lights.
Finally, attach your ShredLights. First by pushing the side with the light up against the outer tab of each bracket, and then by pushing down (hard!) on the lens until the other side slips over the inner tab.
I realize that this is a tight fit and that some of the lights might appear a little cock-eyed, but I have yet to have a light fall off in over 40 miles of riding with this setup. ShredLights did a really good job making sure that their lights attach firmly and are also rugged and water resistant enough to stand up to the crazy stuff that comes flying out of a One Wheel’s wheel well.
I have found these lights to be QUITE bright, boosting both my vision and visibility roughly 3x that of the stock lights. As an added bonus, I recently realized that my OneWheel’s stock tail light had gone out, and I was not very excited to send it back to Future Motion, so ShredLight’s products arrived at the perfect time.
It is true that your feet will block some of the beam coming off of the lights, but trust me, when you see exactly how many lumens these bad boys are pumping, “Are these lights bright enough?” is not going to be a part of your vocabulary.
Peep some extremely rare video footy of me commuting home at night with the ShredLights a’blazing. (note the enormous “V” of light coming out of the front of the board)
https://www.youtube.com/watch?v=lE54XvJPnxQ
Aaaaaaand that’s why I stick to written content, sorry to subject you to that…
Until next time, keep it steezy boys and girls.
Check-out Shredlights here.
Use “ESKATEHQ” promo code during checkout to receive a discount at check-out!


